Glue
Overview
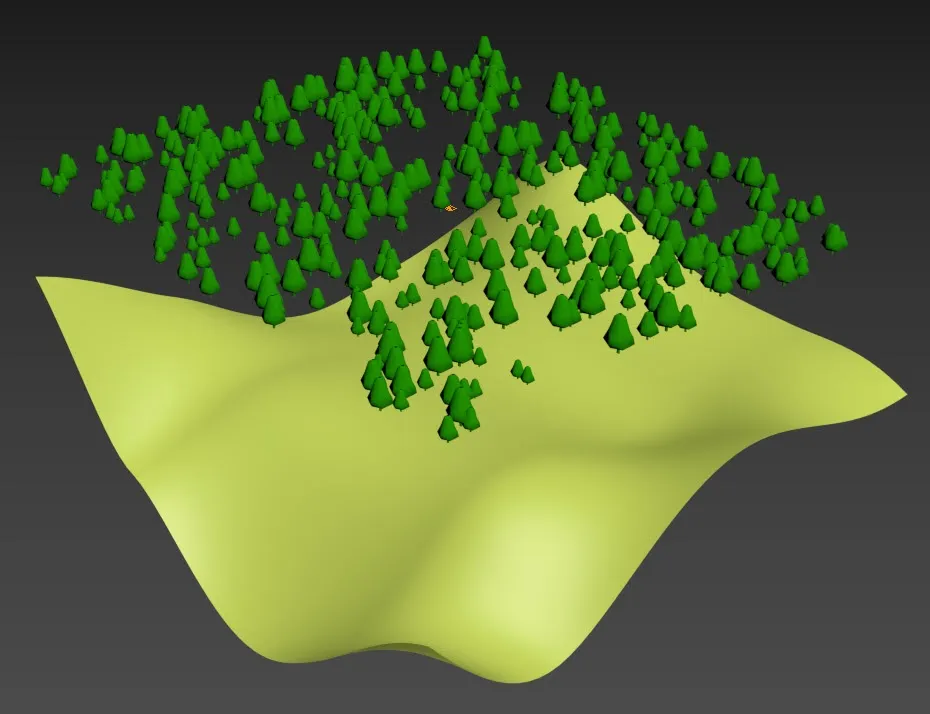
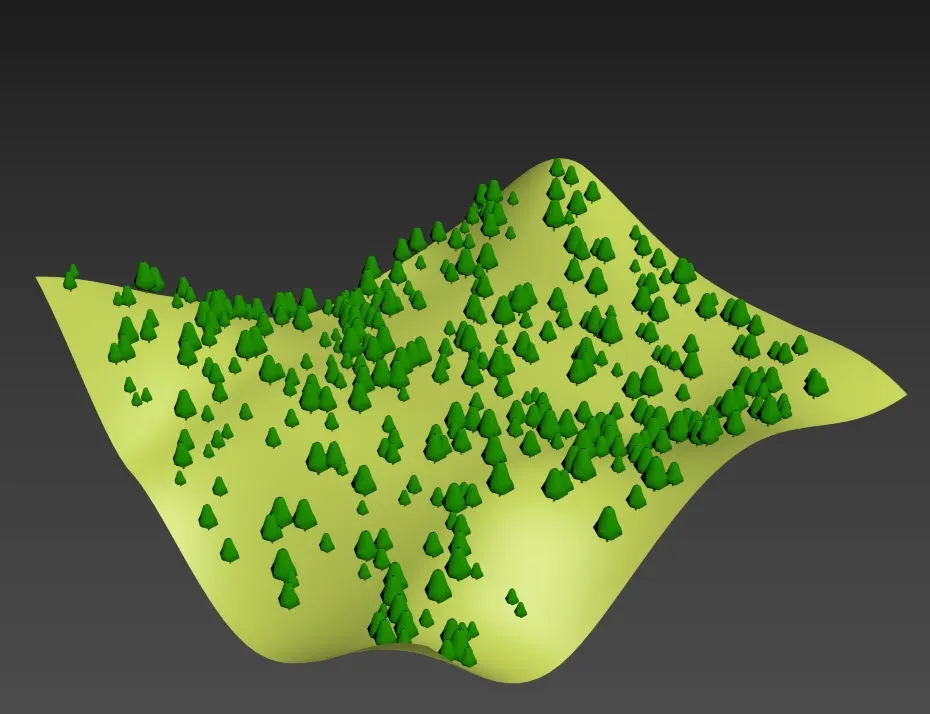
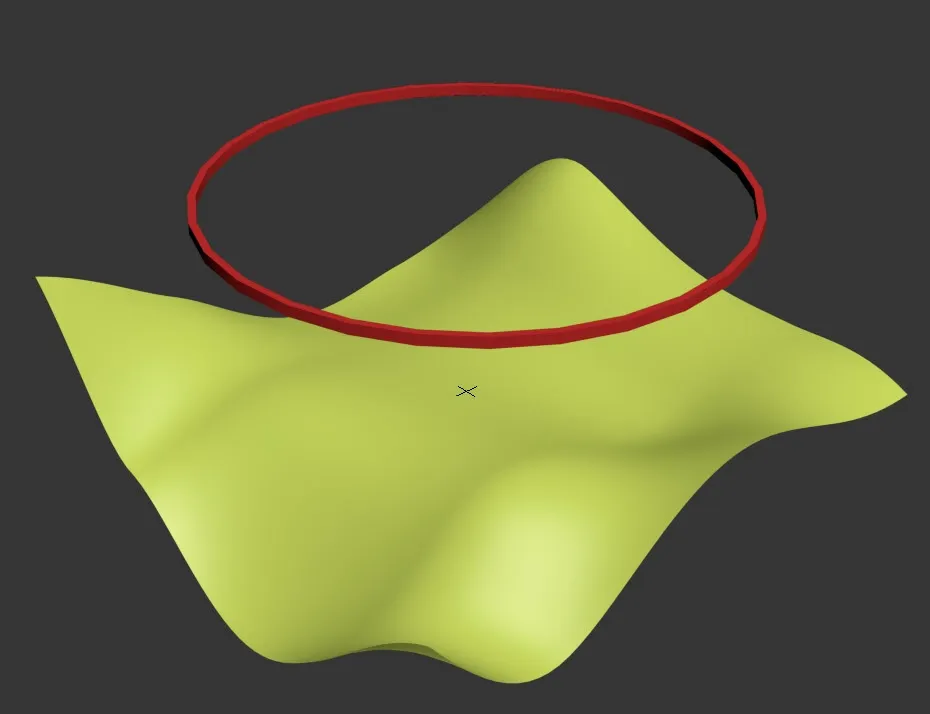
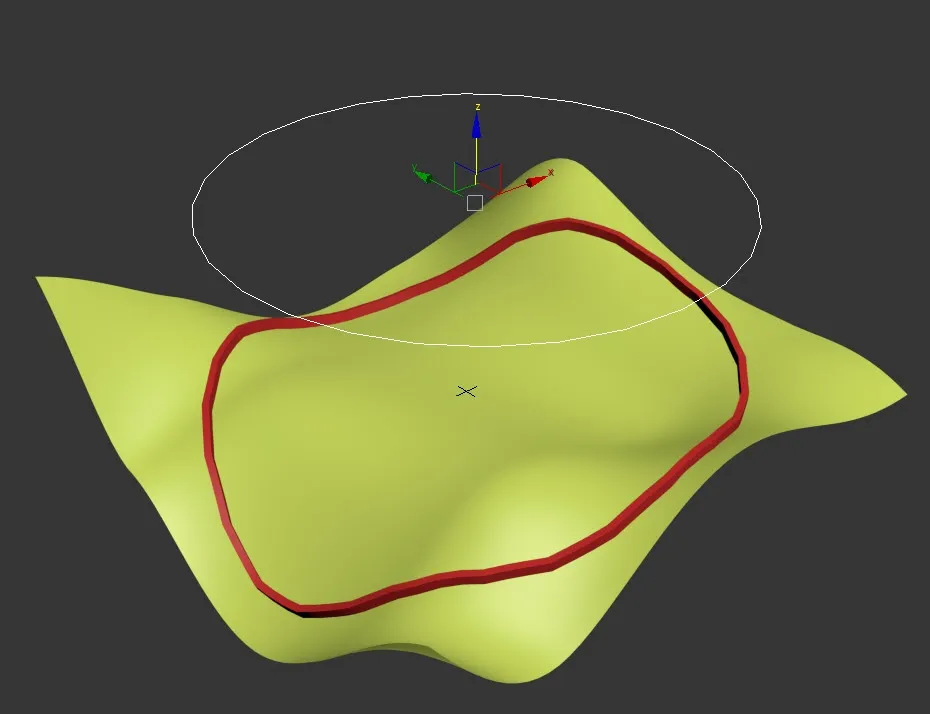
Glue for 3ds Max is actually two tools in one. Firstly, the utility allows you to move a selection of separate objects to any surface by projecting the pivot point along either the X,Y or Z axis. You have the option to orientate the objects to follow the surface normal or retain their existing rotation. Secondly, you can use Glue to conform a Spline to a surface with options to add additional vertices using a fixed number or step, based on the spline's length, or retain the spline's existing knots.

Features
- Project selected items or conform splines onto any geometric surface.
- Options for projecting on the X,Y or Z axis.
- Projected items can rotate to follow the normal direction of the surface.
- Options to normalise splines before projection using a fixed number of steps or add vertices based on a spline's length.
- Can be used with Max's built-in path deform modifier to conform geometry to a surface.
- Can be used with Clone and Path Deform to create parametric arrays that conform to a surface.
- Compatible with Max 9 and above
Procedures
To load the Glue utility
- Go to the 3DS Max Command Panel and switch to Utilities (the last tab).
- Click More..., Select Glue and click OK.
- The Glue utility is now available from the Command Panel.
To project instances and objects onto a surface
- In the viewport, select the objects you'd like to project onto a surface
- Load the Glue utility as described above.
- Select the Base Object by clicking Pick and choosing a surface from the scene.
- Choose a Projection Axis for most common uses this can be left on Z.
- If you would like to rotate the geometry to align with the surface, check Follow Surface Normal.
- Click Glue Selected.
To conform a spline to a surface
- In the viewport, select the spline you'd like to project onto a surface.
- Load the Glue utility as described above.
- Select the Base Object by clicking Pick and choosing a surface from the scene.
- Choose a Projection Axis for most common uses this can be left on Z.
- Choose a mode to add additional vertices to the spline. Use either a fixed number using the Steps option or add vertices by distance using the Length option. If you don't want to add additional vertices, use the Preserve option.
- Click Glue Selected.
Interface
Base Object
Use these options to select the surface onto which you wish to glue the chosen objects
Axis
Sets the axis along which items are projected during the glue operation. Be aware that the objects must be above the surface's faces to be glued
Follow Normal Surface
Rotates the objects to match the orientation of the surface normal
Spline
Interpolate by steps
Refines the spline by adding a set number of vertices as defined by the Steps value.
Interpolate by Length
Refines the spline by adding a vertex at distances defined by the Length value.
Preserve vertices
Does not add additional vertices, instead it uses the splines existing vertices (only works for linear splines)
Glue Selected
Click this to conform the current selection to the surface.
About
Click this for information about the plugin.
Installation
Glue officially supports 3ds Max 2022 to 2026 (with unofficial support from previous versions). There is no automatic installer application, so you will need to install Clone manually by following these steps:
- Download alone from either the ITOOSOFT Website or Autodesk App store.
- Extract the downloaded ZIP.
- Once extracted you will find a folder for each supported version of 3ds Max. Open the appropriate plugin folder and
select
Glue.dlu. - Copy Glue.dlu no 3ds Max's plugin directory, usually located at
C:\Program Files\Autodesk\3ds Max#####\Pluginsp